Transforming a Tuscan Eyesore in the Center of the Home to a Modern Showpiece
By Sabrina Bennardo, LCSW
When we bought this townhome we knew that one of the first things that had to go was the staircase. We had a vision for our staircase renovation and the best team to help bring it to reality. Here’s how it went down.
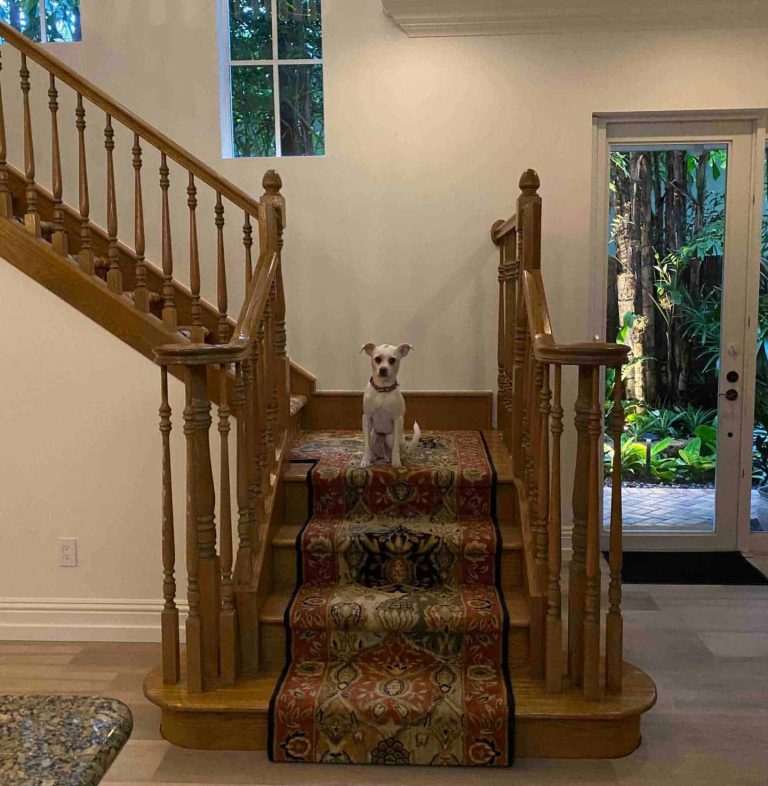
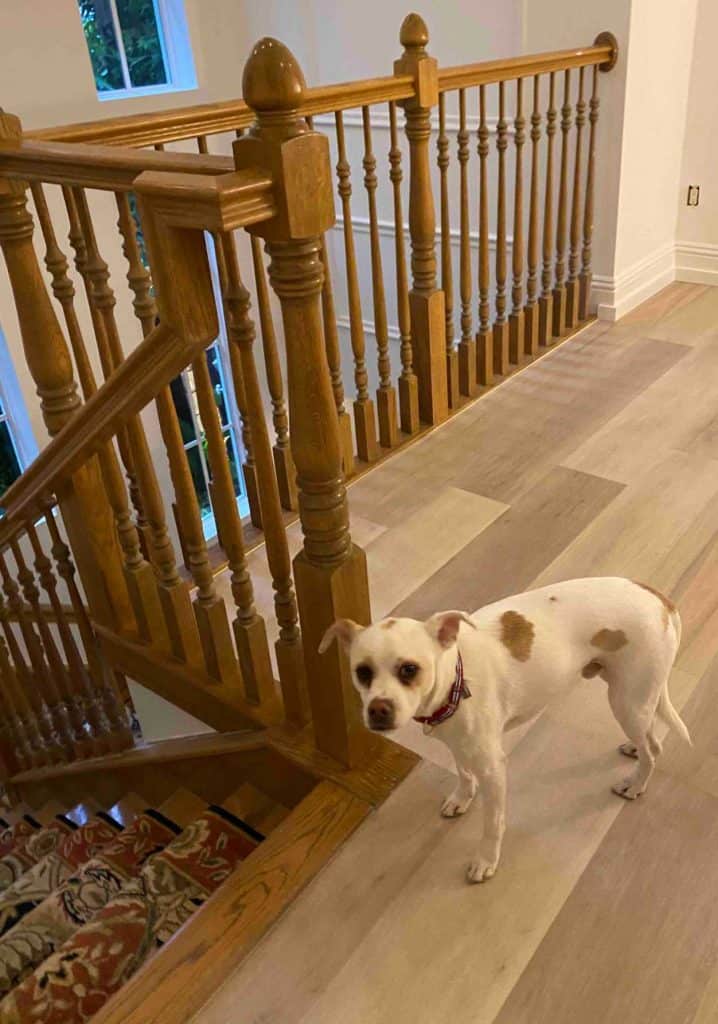
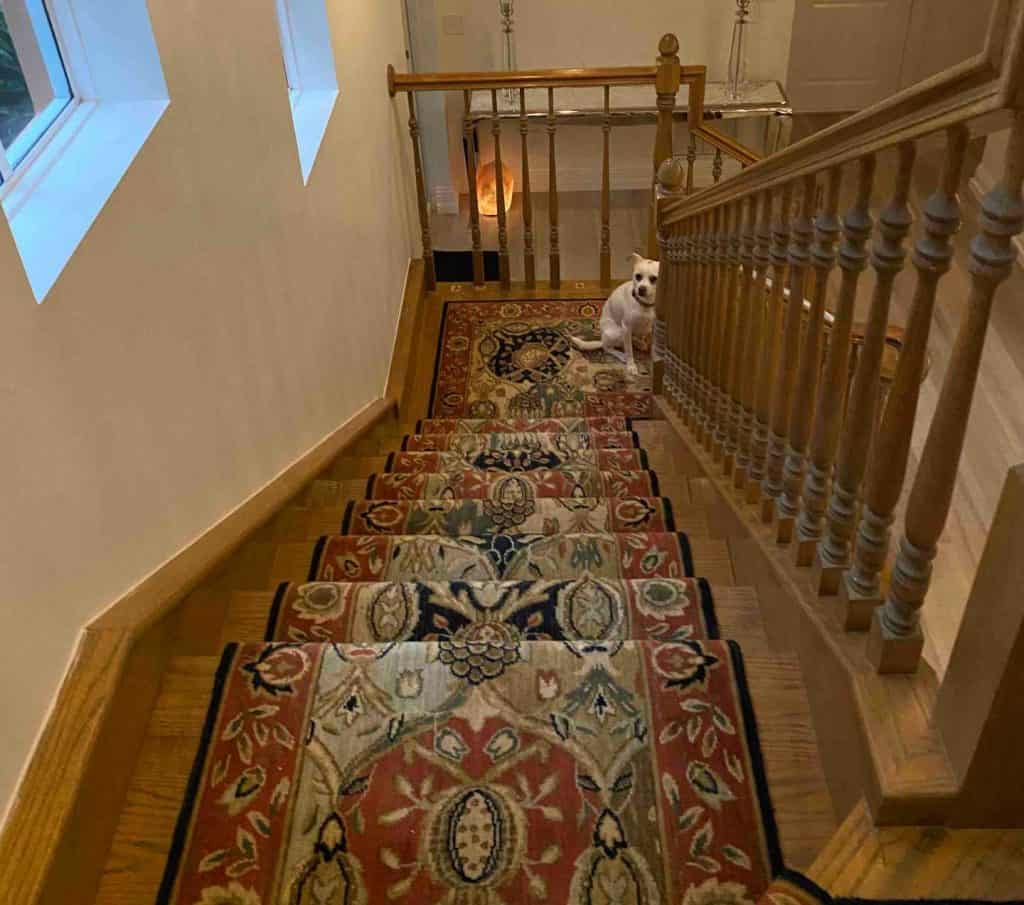
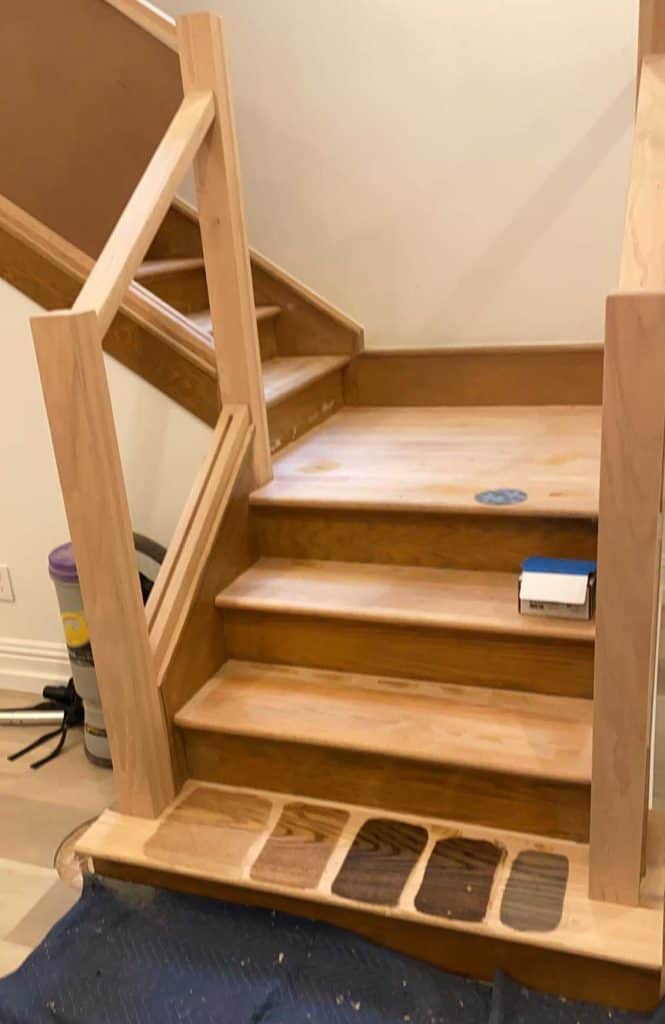
Staircase Renovation: Before
The staircase was heavy wood and yellowed over time. The carpet needed to go as well as well as the shape of the base step.
That’s our dog Jaxx by the way.
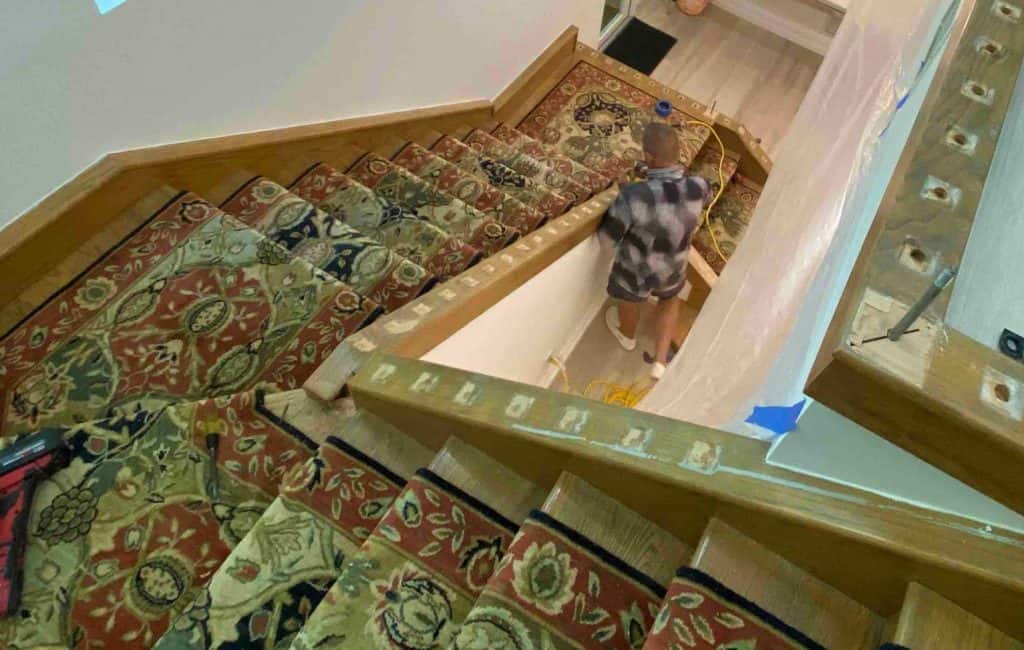
Step 1: Demo Day!
(My favorite next along with paint day)
This was an 8-week process from start to finish. It would have taken half of the time if the talented teams we used were not as busy. It’s always worth the wait for the best!
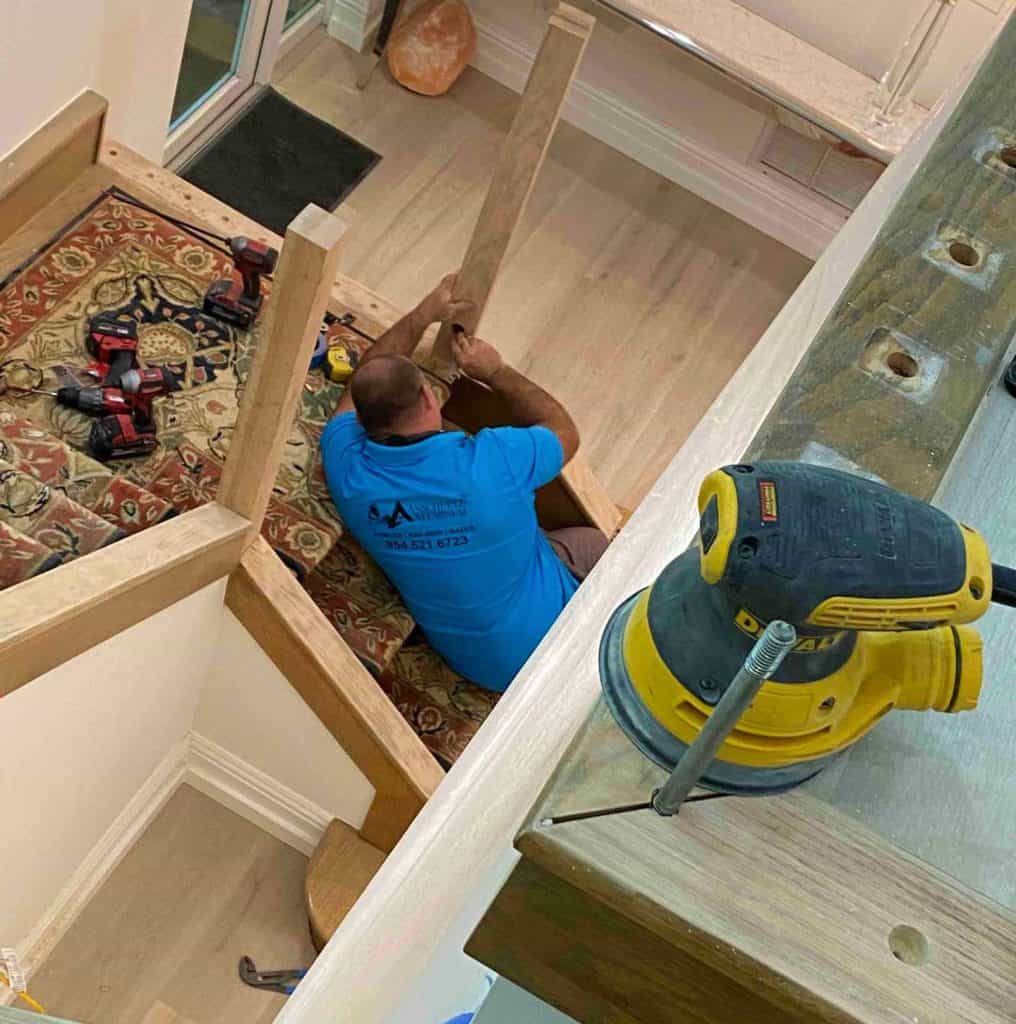
The pickets, top rail, and posts are carefully removed so as much of the base can be reused.
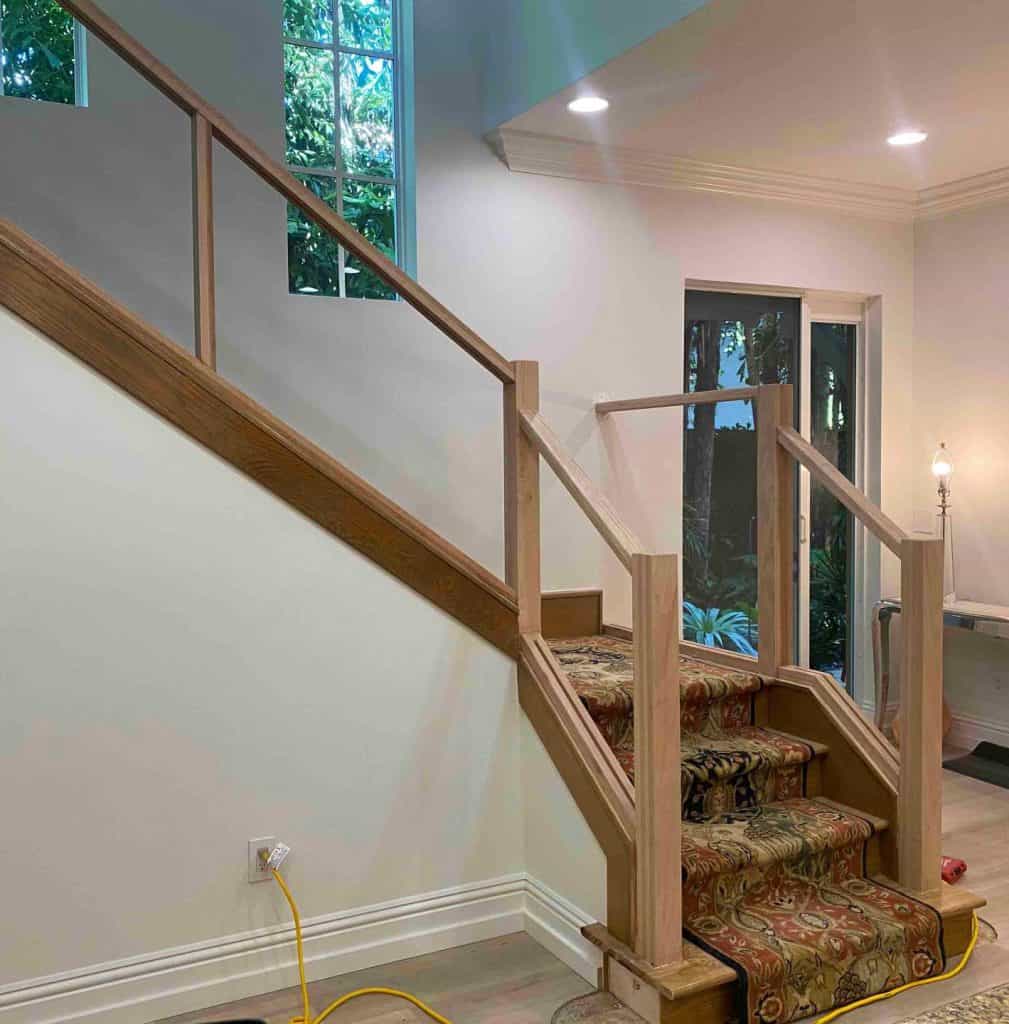
Holes are filled, sanded, and primed for the next step. It already feels more modern without the pickets.
Don't Forget The Plan!
Here is a collection of railing and staircase plans to start you off on your staircase design.
As each staircase is unique, plans would need to be customized for your situation, wood type, and local building codes.
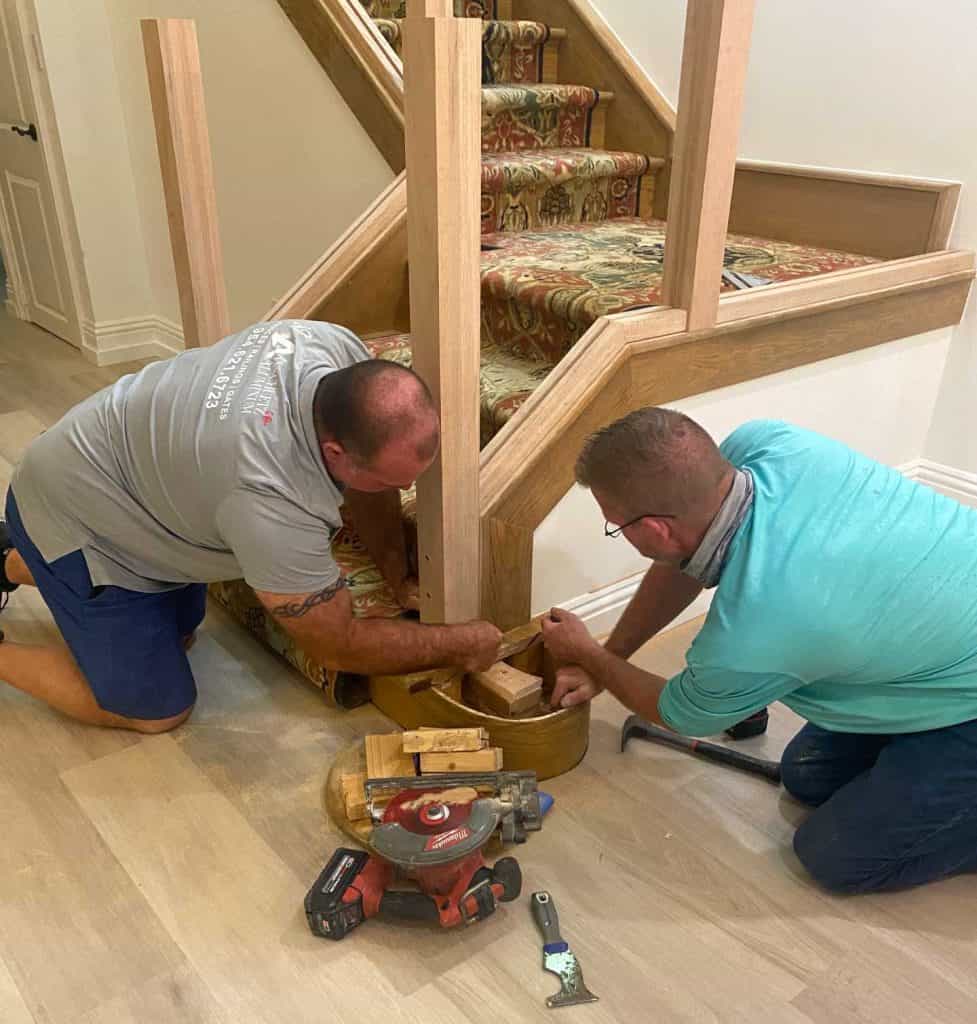
Wood posts were installed using hidden Newel Post connectors.
Newel Post Video Tutorial
Here’s a quick video showing how newell posts are installed & a link to purchase them for interior or exterior use, & with or without the wood plugs.
Step 3 - Removal of Curved Edge of Tread To Square Off Bottom
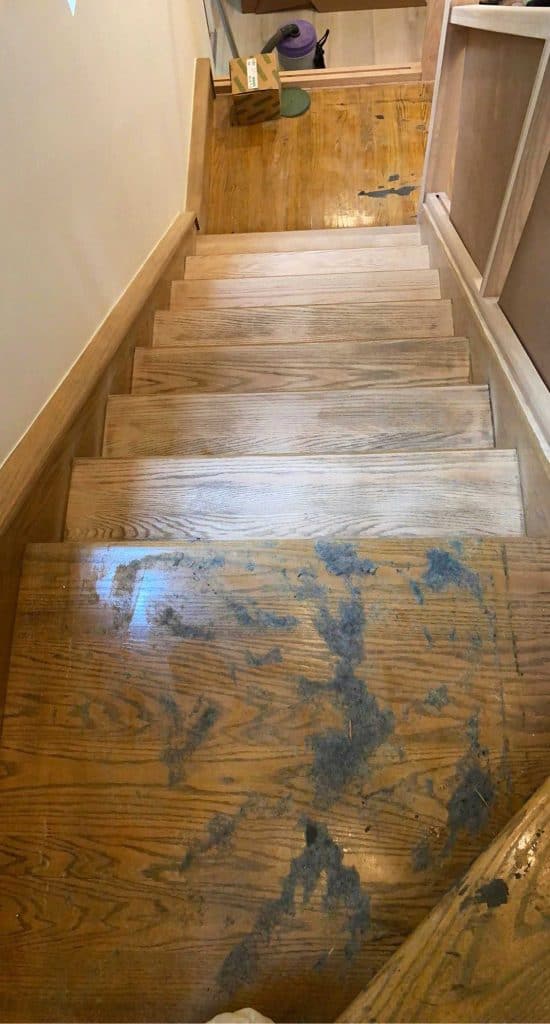
Step 4 - Carpet Removal & Wood Sanding
The carpet was there for years and required a full (and messy) sanding to restore the original luster of the wood. Warning: We don’t recommend staying in the house during sanding or staining, & have everything professionally covered. Be prepared for a big clean up!
Step 5: Stain Selection
This is possible! With qualified experts, you can achieve these staircase renovation results. Our experts recommended the wood be bleached for 24 hours. It was well worth the time and extra investment to get the red out.
This was the most difficult since I knew the color I wanted to achieve and none of the samples below were it. The goal was to make RED oak wood look like WHITE oak in a driftwood color tone.
Final Stain Selection: Weathered Oak by MinWax and Loba 2K invisible wood finish gave it the pure matte finish we wanted to achieve.
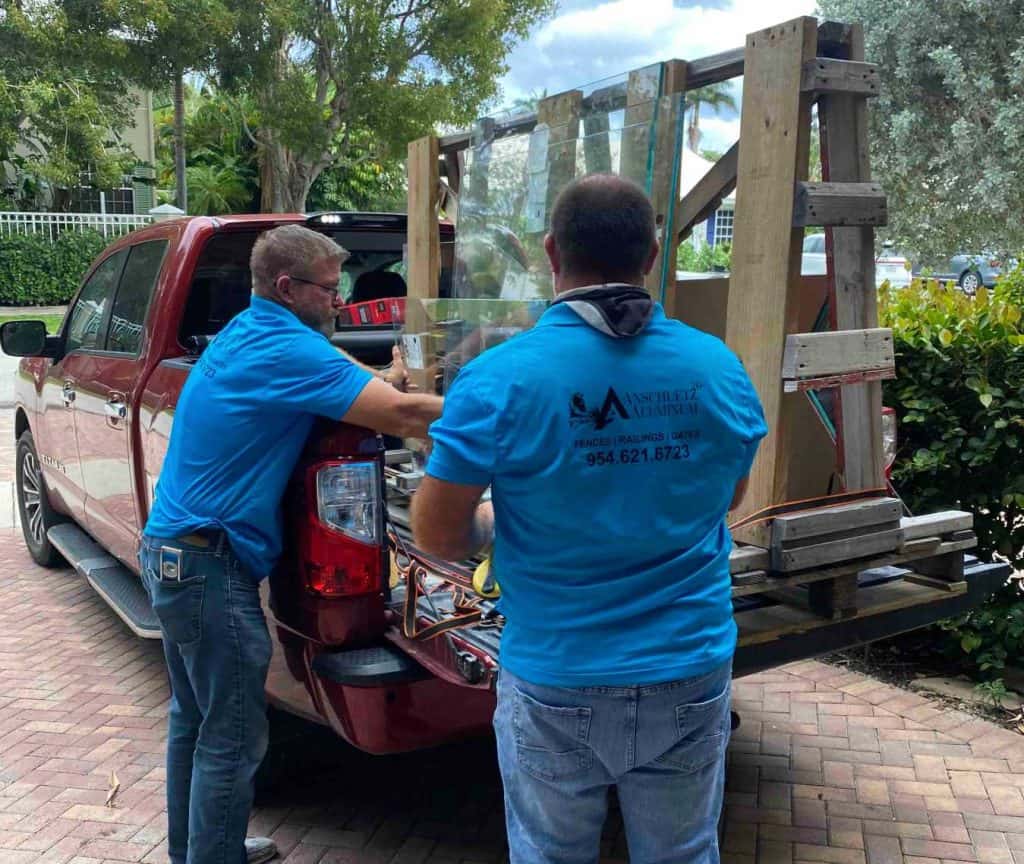
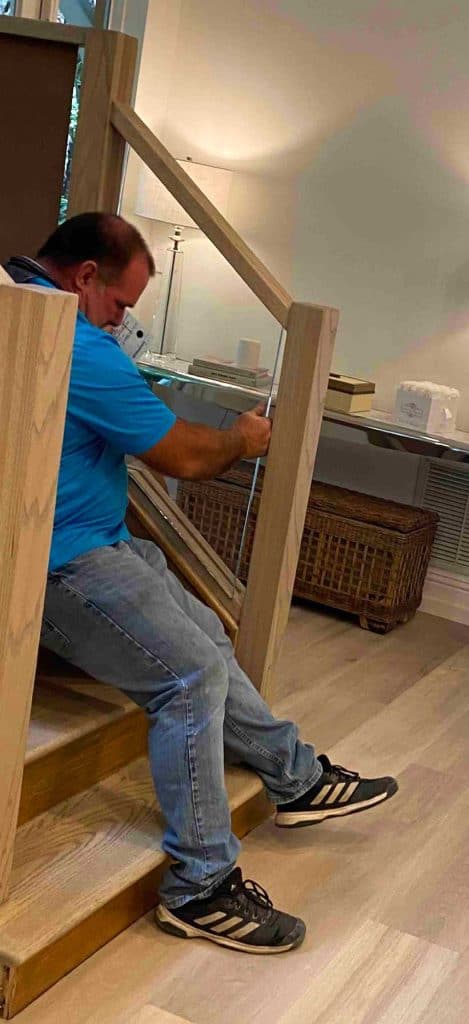
Step 6 - Glass Installation
We selected a 1/2″ Fully Tempered ANSI Z97 safety rated glass which was installed in a notch created in the top & bottom rail. The glass is lifted into the top notch which is deeper than the bottom notch & dropped into place forming a secure bite top & bottom.
Step 7 - Painting & Caulking
True craftsmanship is in the details. The success of this project was in the quality of the finishing. It always pays to have experienced experts do the job right the first time.
The painting was expertly done by PhD Painting with meticulous preparation and precision.
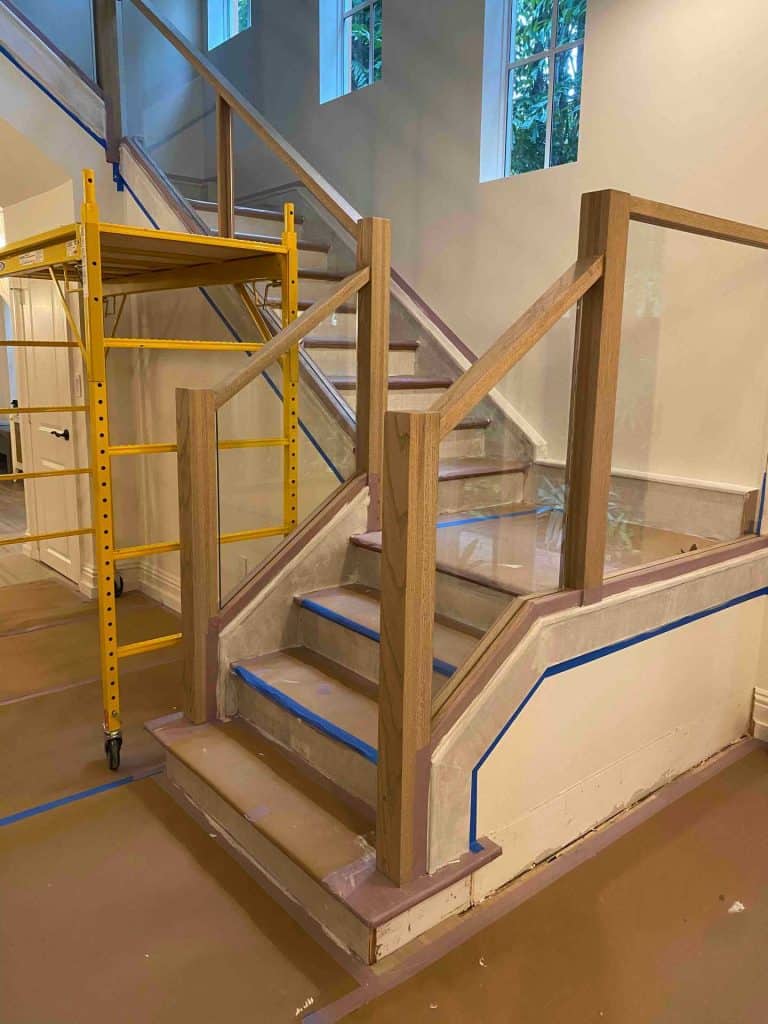
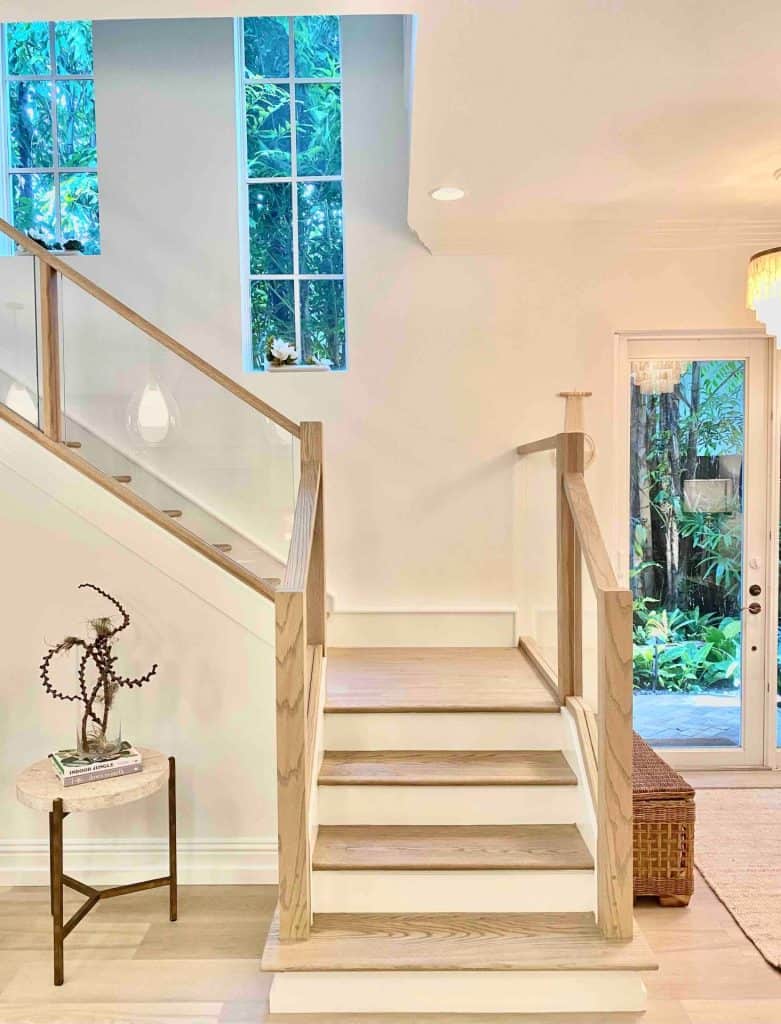
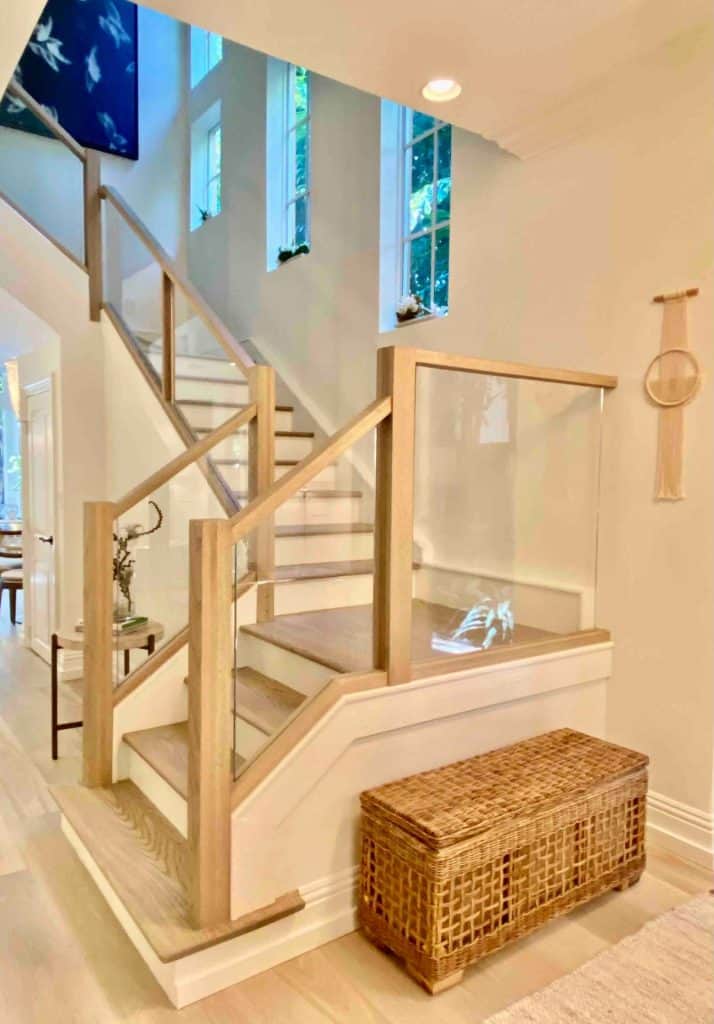
Staircase Renovation - The Big Reveal
We are thrilled with the final results and are very appreciative of the hard work and effort by the entire team to make this happen!
In Summary - Reminders
There are strict building codes that govern the life safety requirements for railings. From the allowable spaces between pickets, railing height, grabrail specifications, as well as the required horizontal and vertical loading requirements (with factors of safety) that govern the design.
This railing was designed by structural engineering professionals and permitted with the city to meet these codes. We strongly advise to seek professional consultation when designing and installing a life safety device such as a railing or stair rail. Engineering Plans is happy to review your request and provide guidance if needed.